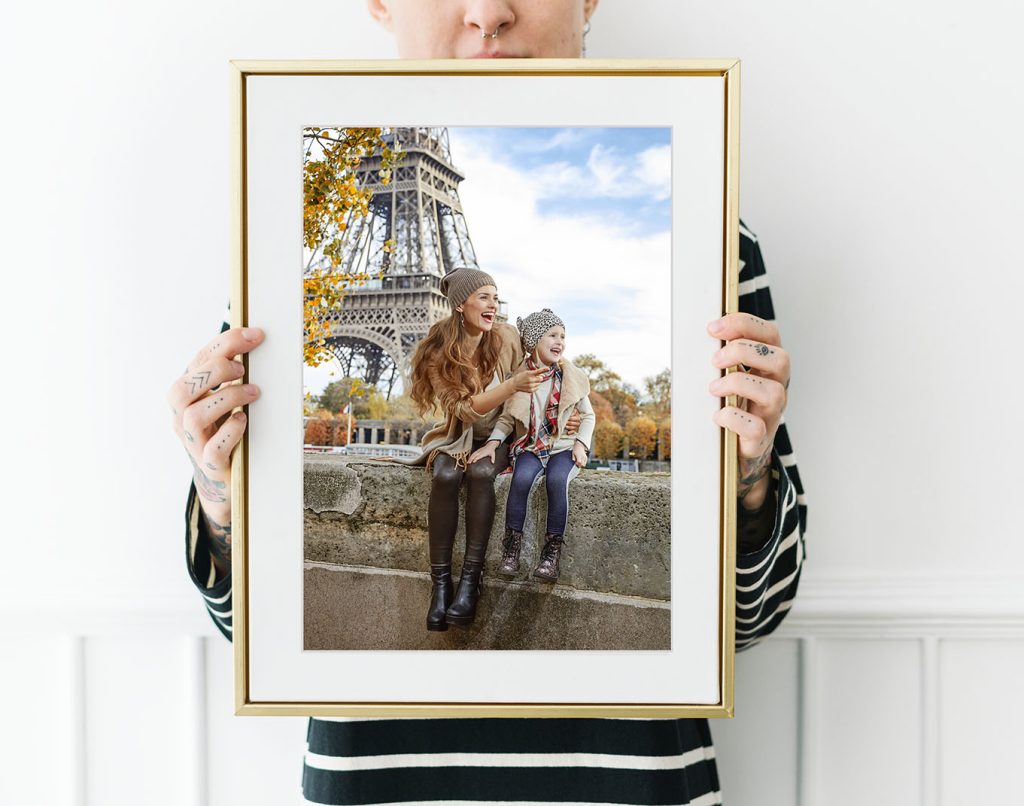
These basic rules for mounting your photo into the frame apply for wether you are framing one photo or picture or various photos into a multi aperture frame.
Getting Started
Things that you will need:
- Your picture frame
- Your photograph or artwork
- Some gloves (not essential, but will avoid fingerprints on the glass and on your photo)
- Some tape (we suggest masking tape)
- A flat head screwdriver (optional)
Tip: before you begin make sure the workspace you are using is clean and clear of clutter to avoid scratching your frame. Some people lay a cloth or towel onto a table surface.
Step 1- Unwrapping the Photo Frame
Unwrap the photo frame (or picture frame) from its protective wrapping, turn it over and place it face down on your protected surface or table.
Step 2 – Remove the Backing Board
Use your fingernails, a butter knife, or flathead screwdriver to lift the flexible flip-tabs from a horizontal position so they now point vertically upwards. This will now allow you to easily remove the backing board from the back of the photo frame.
Step 3- Remove the mount board and perspex glazing
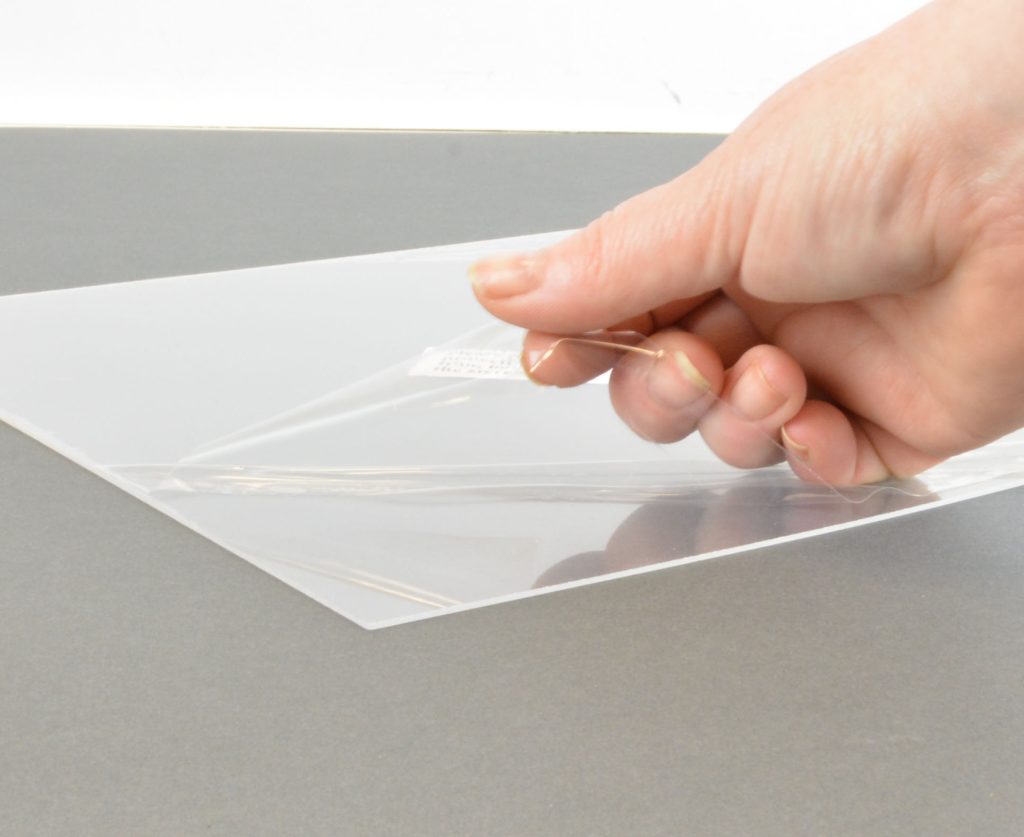
Carefully remove the mount board from inside the photo frame. Remove the perspex from the frame and carefully peel off the protective filament from both sides of the perspex sheet starting at the corner. Once this is done pop the perspex back inside the frame.
Step 4 – Attach the photo to your mount board
Place your photo onto a flat surface. Hold the mount over the photo to check the positioning and that the photo will fit properly in the window.
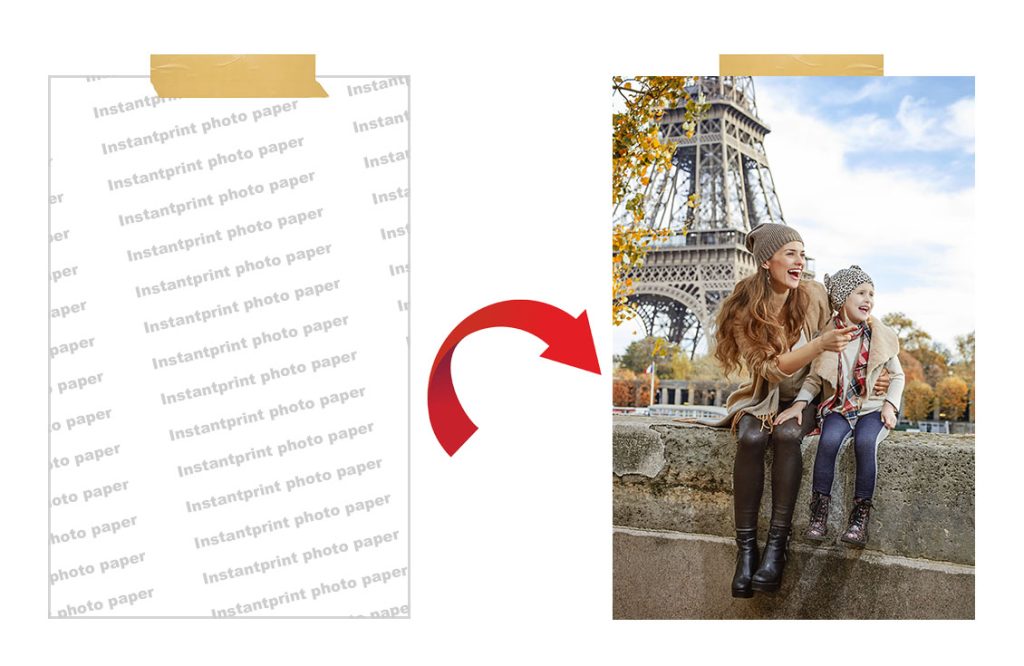
Next, place the photo face down. Then place the masking tape on the top edge of the photo, leaving some exposed, and then flip back over face up again.
Note: You do not need tape on all sides of the photo. You only need to fix the tape to the top edge, so that your artwork or photo can just hang down.
Next, position the mount board over the photo, align the edges and rest down to adhere the mat board to the tape on the top of the photo.
Push the mount board firmly down over the tape to help it to stick firmly.
Then flip the mount board over and press the tape down a bit more to ensure it gets a good hold.
Step 5 – Place your photo into the photo frame
Carefully place the mounted photo into the photo frame face down, with the photo facing the glass.
Remember to check the hanger on the MDF backing board is the correct way up for your photo.
Use your fingers, a butter knife, or flathead screwdriver to close the flexible flip-tabs back to their original horizontal position. This will keep the MDF backing board in place inside the picture frame.
Step 6 – Final Check
Lay your framed photo onto a flat surface, and check the photo is aligned properly and sits straight. If not, remove the backing board and straighten the photo.
Check that there are no dust particles inside the frame, if there are, remove the backing board and gently remove them with the lint cloth.


