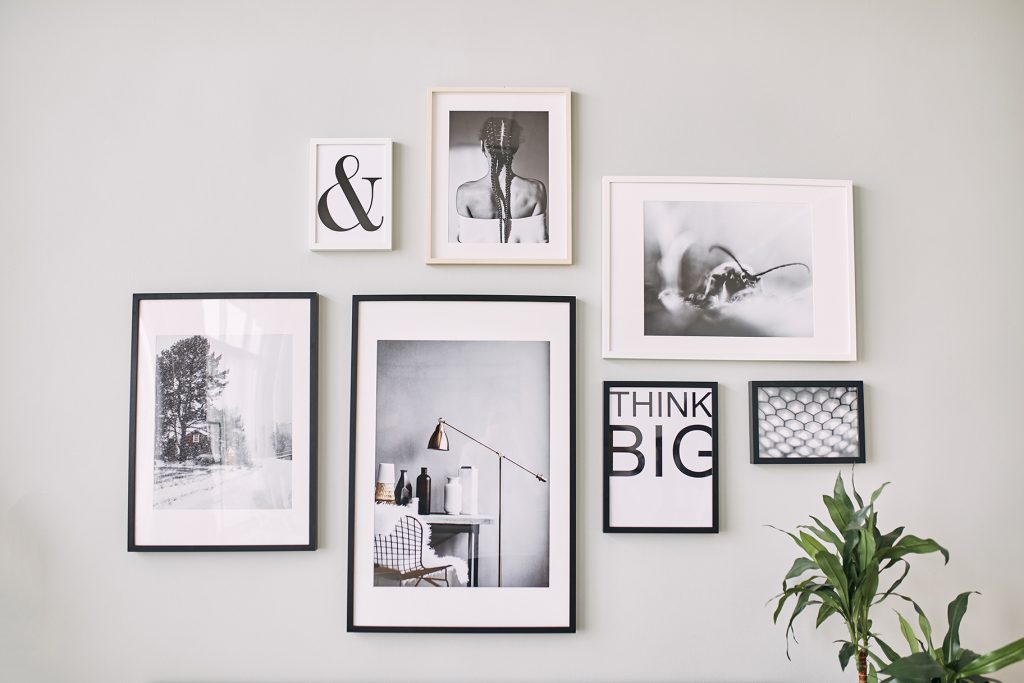
Are you looking for assistance on how to create a gallery photo wall of picture frames? We have created a handy step-by-step guide. Ready to get going? Continue below to read through our visual step-by-step guide.
6 Steps to Hanging a Photo Wall Gallery of Frames
Customers have asked us for some tips on hanging and displaying their photo frames when creating their own photo walls.
So we have the following simple steps for you to follow so you can hang your picture frame gallery set and complete your own beautiful feature wall. While it may seem intimidating, it is really a lot simpler than you think when you follow these steps below.
Step 1 – Build Your Photo Wall Layout
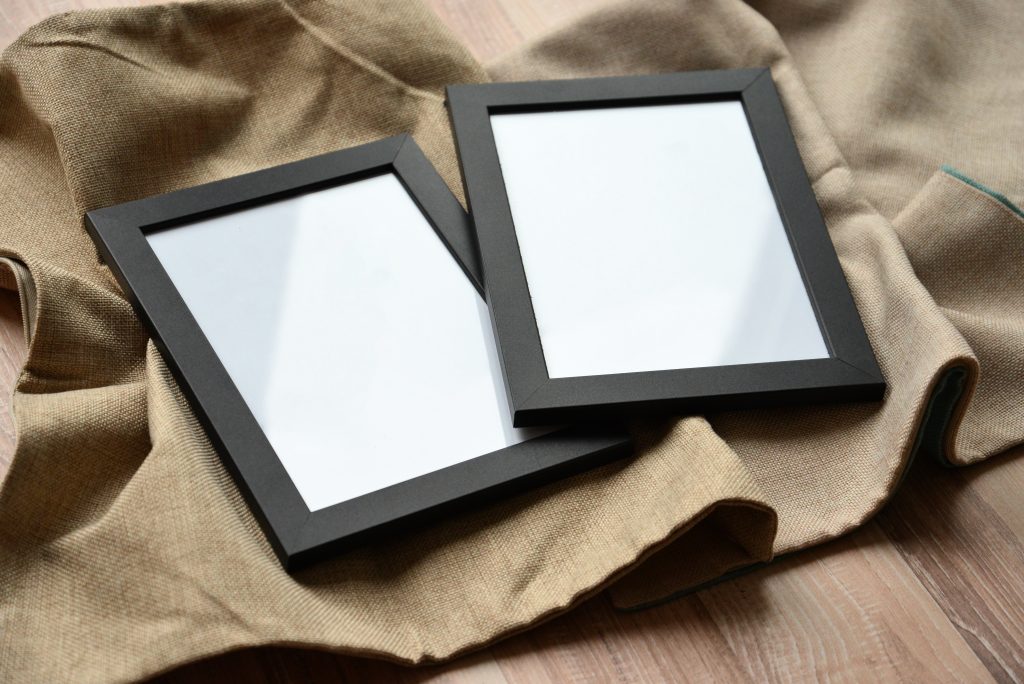
Layout the photo frames on your floor and find the layout that best suits your space. We recommend allowing a 5cm gap between your picture frames.
Step 2 – Find the Look You Want
You may already have a diagram or a guide to reference when designing your picture frame photo wall layout, But you can also come up with your own layout design as well.
Place your collection of photos on top of each frame. Stand back and look at them all together. Will this wall collage arrangement look and feel right to you? Try swapping some photos. Does this combination look better for your picture wall?
Once you’ve found the perfect arrangement, use your mobile phone to take a photo of your favourite and final combination for your reference.
Step 3 – Place the Photos into Your Photo Frames
Now you can place the photos into your photo frames, as per the look you have decided on the previous step.
Step 4 – Display Your Layout onto Your Wall
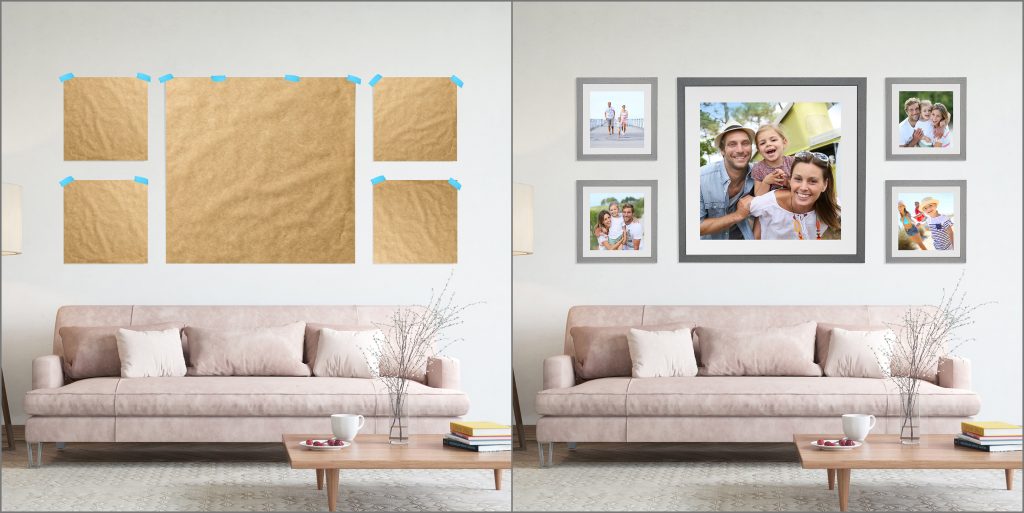
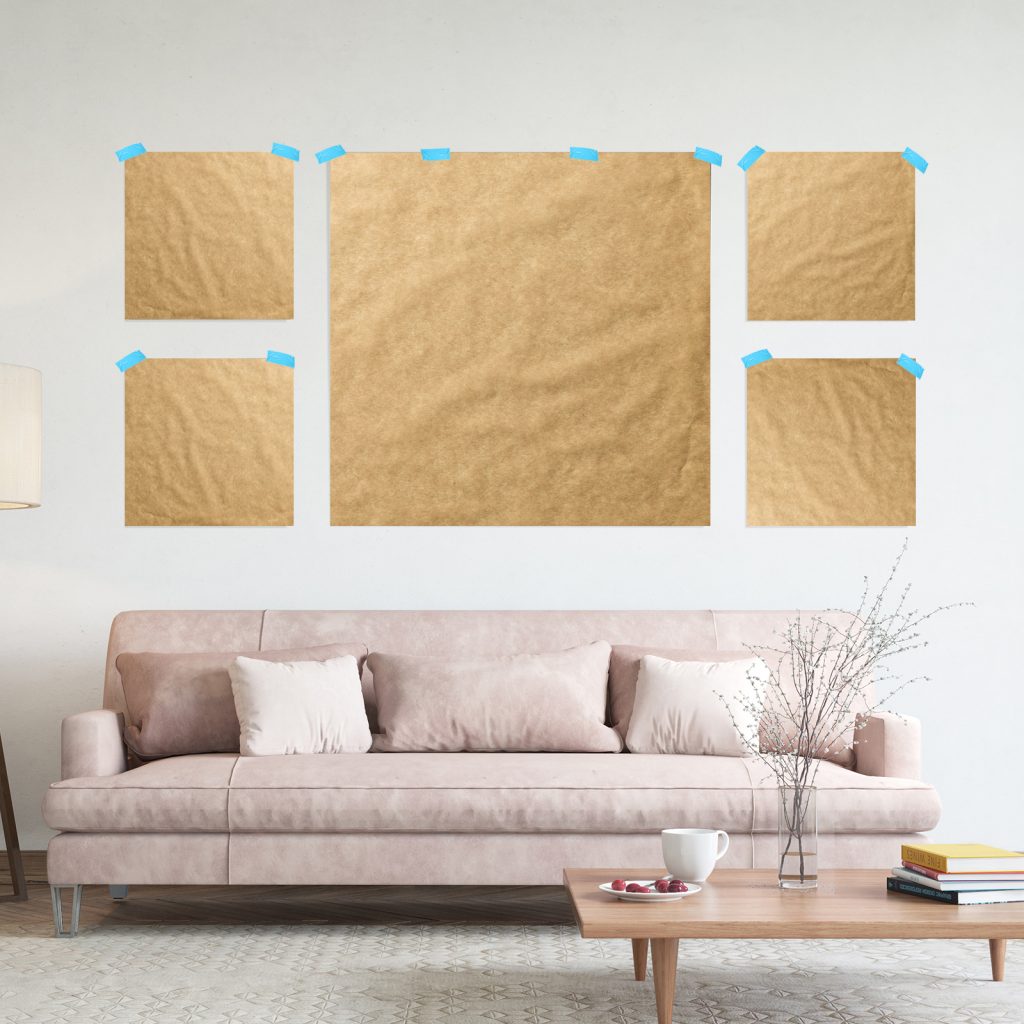
Now, cut some kraft paper or large pieces of paper as per the size of each frame. Use some removable masking tape to stick these pieces of kraft paper onto your wall following the same layout arrangement that you built and decided on for Step 1.
Now use a pencil to mark where each frame will be hung onto your photo wall display. Use a ruler or a level to help ensure your picture frame will be straight.
Step 5 – Mark & Place the Nails or Screws on Your Wall
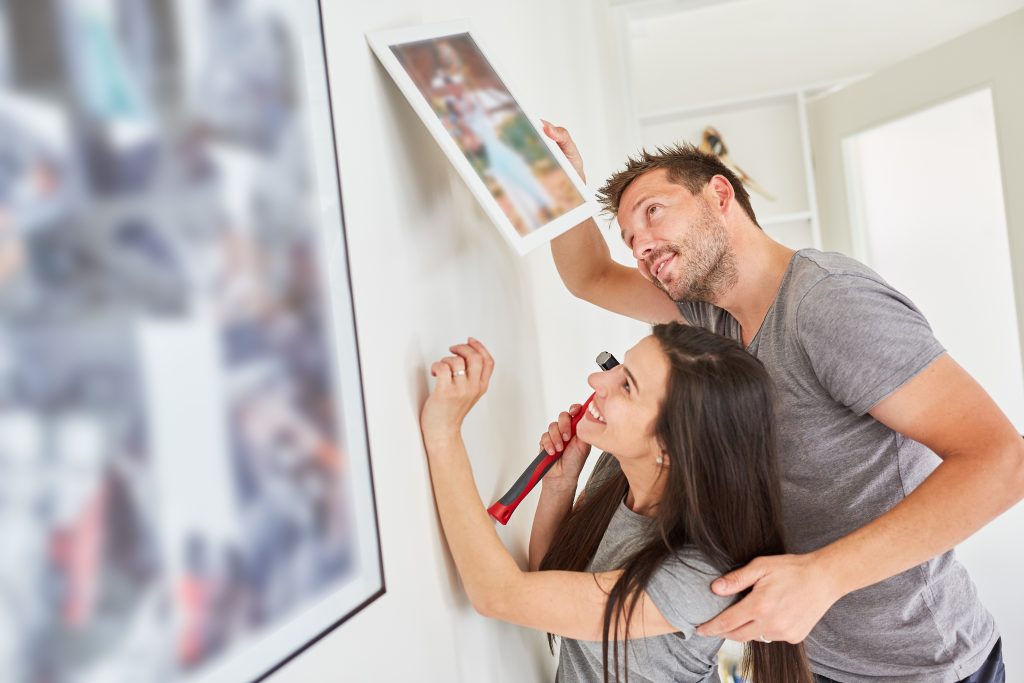
Make a note on the paper at the appropriate place where to hang each nail or screw.
Once you have placed all the nails or screws, remove the paper and leaving only the nails or screws remaining in the wall.
And voila, you have just created your own gallery photo wall of picture frames, which you can admire and enjoy for years to come!

