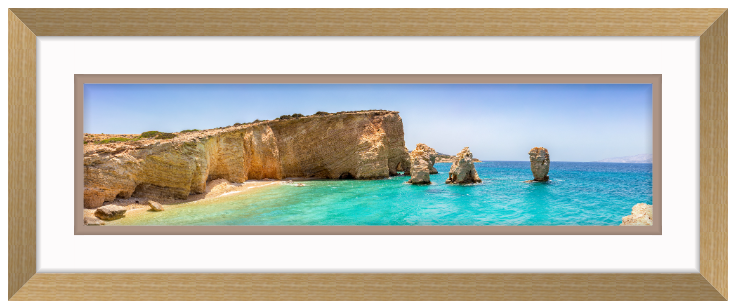
When you have a panoramic photograph of a picturesque landscape or an extra wide photo of large group of people such as a team photo, then a panoramic photo frame can be the ideal choice to show and display these iconic images.
Panoramic photo frames are specifically designed to showcase wide aspect ratio photos. These frames perfectly complement panoramic shots taken on mobile phones or created by stitching multiple photos together using specialized software or apps.
Imagine the breathtaking beauty of an extra wide panorama landscape photo adorning your wall, capturing the magnificence and wonder of iconic scenic views.
Now, let’s explore a step-by-step guide on creating your own stunning panoramic framed photo for display.
Printing Your Panoramic Photo
To start, select the desired size for your photo. Before printing, explore the available options for panoramic photo frames. While you have various choices, remember that opting for a larger size is generally preferable. Additionally, ensure that your photo can be printed to fit your preferred dimensions. Sometimes, with panoramic photos, you may need to crop or trim the image to make it fit perfectly within your chosen frame size.
When you’re ready to print, there are several excellent retail stores across the UK, such as Max Speilmann, Tesco, and Boots, where you can professionally print your panoramic photos.
You want to choose a photo paper that is high quality, which is generally thicker grade than standard photo paper. Preferably 230gsm or thicker. A satin/lustre is also the most popular finish as well. Unless you are getting your panoramic photo printed and custom framed by a professional photo lab, it is best to avoid choosing any high gloss finishes, as these can be very sensitive to handling, marring, and kinking, and make any slight imperfections under glass quite prominent.
Choosing Your Panoramic Picture Frame
When framing your panoramic photo, the first step is to choose the size. You can select sizes ranging from 8×16 inches (20x40cm) to 16×40 inches (40x101cm), and sometimes even larger.
For the best results, it’s recommended to opt for an extra wide panoramic picture frame that includes a mount board border, also known as a ‘window mount’.
Using a mount board serves multiple purposes within a picture frame. Firstly, it creates visual space between the edges of the panoramic photo and the inside edges of the frame, ensuring a balanced and proportionate viewing experience for the artwork or photo.
Another important aspect to consider is selecting a high-quality mount board, which serves the purpose of safeguarding your panoramic photo. This is achieved by creating a slight distance between the glass and the photo, preventing any direct contact. By avoiding direct contact, you can prevent the photo from adhering to the glass and causing long-term damage.
Moving on, the next step involves choosing the colour of your panoramic photo frame. It is advisable to opt for a colour that complements your personal style and aligns with the subject and colour tones of your wide-format photo. Among the most popular options for frame colours are black, white, and natural wood. These colours possess a timeless and classic quality, ensuring a versatile match for various decor styles and guaranteeing longevity for your panoramic photo frames.
Framing Your Panoramic Photo
When putting your panoramic photo in a picture frame, remember that it should be able to move freely and not be permanently stuck to the backing board. This way, your panoramic photo can adjust with changes in room temperature and avoid getting all wrinkly or bent out of shape. So, make sure you choose panoramic photo frames that allow for this flexibility.
To attach photos to a mountboard, you can use various techniques. The most secure option is to utilize framer’s tape tabs evenly distributed every 20-30cm along the top edge of the photo, positioning it behind the mount board aperture. This allows the photo to naturally hang and suspend inside the frame. Avoid applying tape all along the top edge, as this may cause rippling when the print expands and contracts. It’s important to note these tips when working with panoramic photo frames.


